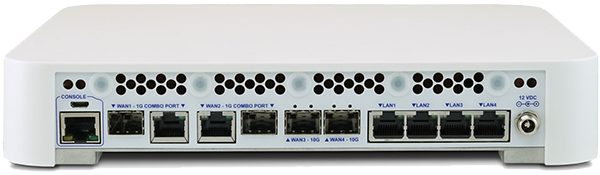
Well, despite my misgivings over the price of Netgate’s rack mount for the 4100/6100 firewall series, I finally broke down and bought one. I still think it is far overpriced even with the nice blue anodised aluminium. I really wish that Netgate had created a proper chassis with integrated power supply for the 4100/6100 series. Not that I would be buying a replacement even if they did given the cost. It does look okay; but, in reality, a standard rack shelf is good enough.

Next, notice anything else new in the rack:
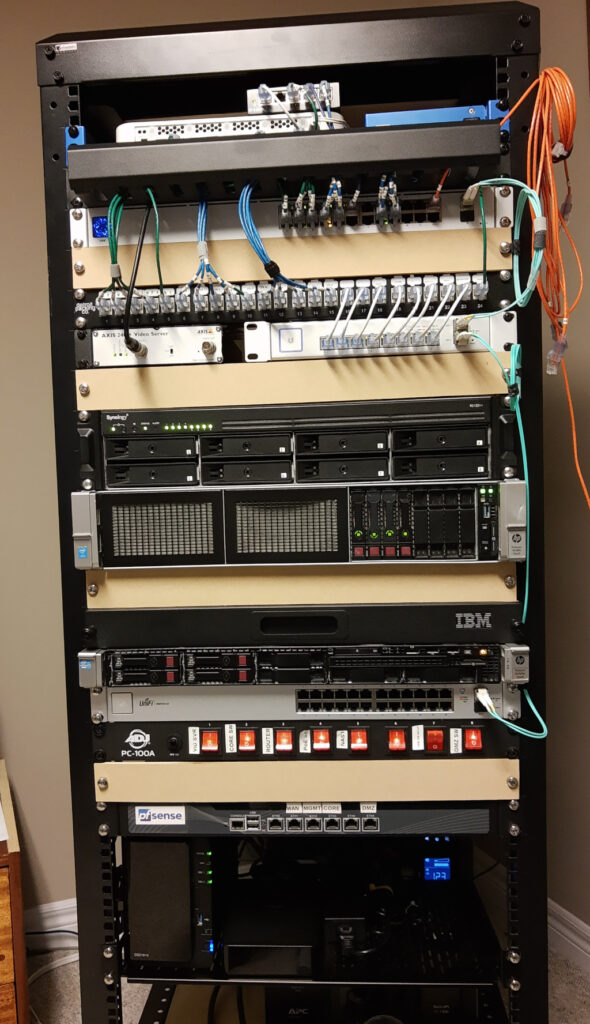
Hint: Is isn’t HPE but from IBM…
My son has made fun of me for not having “one of those pull out screens” for the rack. I actually have been looking for some time on eBay but the prices for any that will ship to Canada is like cra-cra even for those that are broken, unknown working, missing cables, missing rails, etc. However, I found one that was being thrown out (keyboard damaged, monitor unknown) but it has the rails, the cable management arm and both the rails and arm were only slightly bent (i.e., fixable).
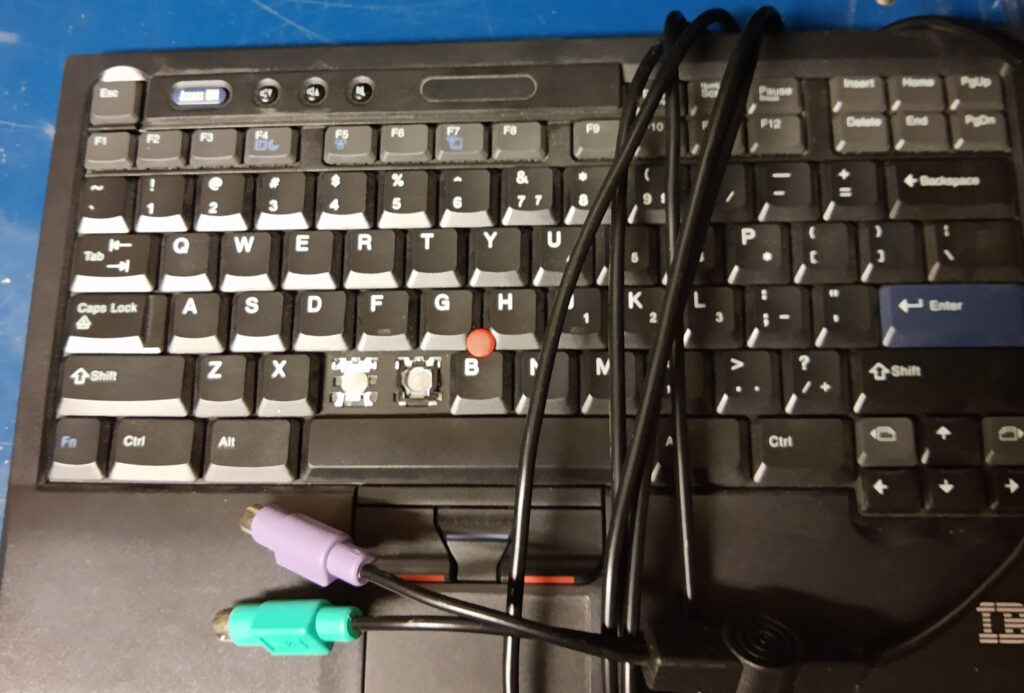
The keyboard was the “classic” ThinkPad keyboard with the TrackPoint and touch pad. But it has PS/2 connectors (oh-so-retro) that neither the DL360 G8 or DL380 Gen9 has and I didn’t have a proper PS/2 to USB adaptor (most are just electrical pass-thru which does not work – for me at least).
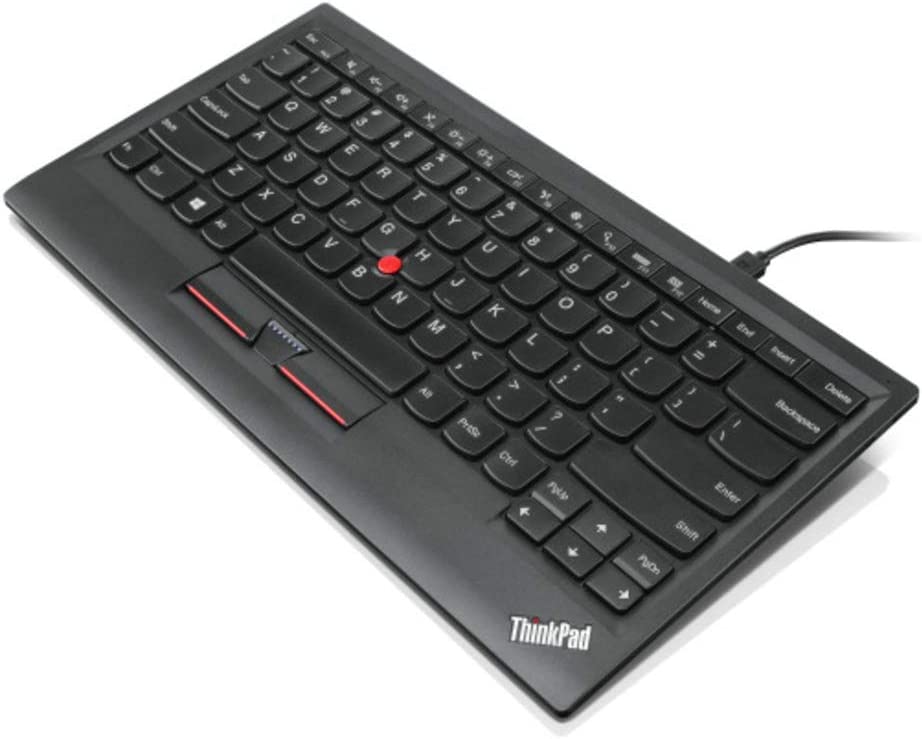
The solution was to pick up a Lenovo ThinkPad Compact USB Keyboard with TrackPoint. Not having a track pad doesn’t bother me as my servers just run in text mode. I did have to modify the drawer as the compact USB keyboard is about 1 cm narrower and if bumped would drop the drawer. The drawer is designed with the original keyboard hanging through the drawer and held down with a big piece of Velcro (as is the monitor’s power supply – simple and effective). I solved this with a piece of 3/8 thick backer board and drilling some countersunk screw holes. But no Velco because I don’t have any and I don’t think it is needed.
I am now a “proper” nerd with a rack KVM console. No KVM switch because the two I still have are HDMI, not VGA – but my two servers (and old pfSense box) use VGA. There is some interference on the monitor (it is only 15″) and it uses some weird interface that the power and VGA connect. It is pretty thin and uses a standard VESA mount. I’ve looked around but these seem hard to get and I can live with the interference for the limited times I use it. I mostly use the iLO but there are cases when I need to be at the console.
The old DL360 G8 is only used for testing. I did manage to get the pfSense box working again after replacing the RAM, reseating the mSATA drive and re-installing pfSense. But, with a server, my backup UniFi Switch24 and a firewall, hmmm… Opportunity?