In my previous posts, I noted that my homebuilt rack worked well execpt for two issues: (1) I was silly and went with telco threaded rails and (2) I neglected to add the 1/8th inch (3.2mm) thickness of each rail in the width between the 2×4 uprights; that is 1/4 inch (6.5 cm) too narrow.
That, of course, caused two problems. First, the rails for my Supermicro server are made for squre holes and could not be converted to use threaded holes. My DL360 does have adaptable rails whereby the studs could be removed and, with care, could have screws used – I had to line up the screw with the threaded rail holes as it was thread-to-thread between the vertial rails and DL360 rails. That meant that the Supermicro had to rest on top of the DL360. Not the best if I had to slide out either server.
The second problem was that even if I could have mounted the Supermicro rails, there was only a paper-thin gap between the Supermicro chassis and the rack’s rails. Grrr… I could have fixed that problem by taking everything out, getting the router out (after I found a router bit that was long enough for the 1.55 inch (4 cm) depth of the rail) and countersink the rails. I could not take the rack apart because I did such a good job with glue putting the rack together. I would also have to buy four new vertical rails. I couldn’t find 20U square hole rails anywhere and what I could find was 14U at over CDN$75.00 per pair. I would have to buy four (4!) pairs and cut two pairs down. That would be over CND$300.00 just for the rails. I could have search more but anyway…
I found on Amazon when I looking for the square-hole rails a rack from Raising Electronics similar to this one by Sunlight Machinery (they don’t have the 600mm depth rack listed right now) for just over CDN$200. IT was 27U, instead of 20U, but vertical space wasn’t a problem.
The Amazon comments noted that you need to chase out the threads before assembly because the power coating – which seems really good – was in the threads. I only had two of what seems like a hundred bolts/screws you need for assemby; so that wasn’t a big issue. The comments also noted that there alignment was not always perfect. Again, I only had two holes that didn’t line up perfectly; I think that they were the same ones that had a little powder coat in them. The biggest problem was the so-called assembly instructions. They are not assembly instructions; they are the exploded engineering view. And the diagrams are tiny. Did I say they were terrible?
Anyway, it took about an hour, with the help of my son, to assemble. It really is a two-person job.
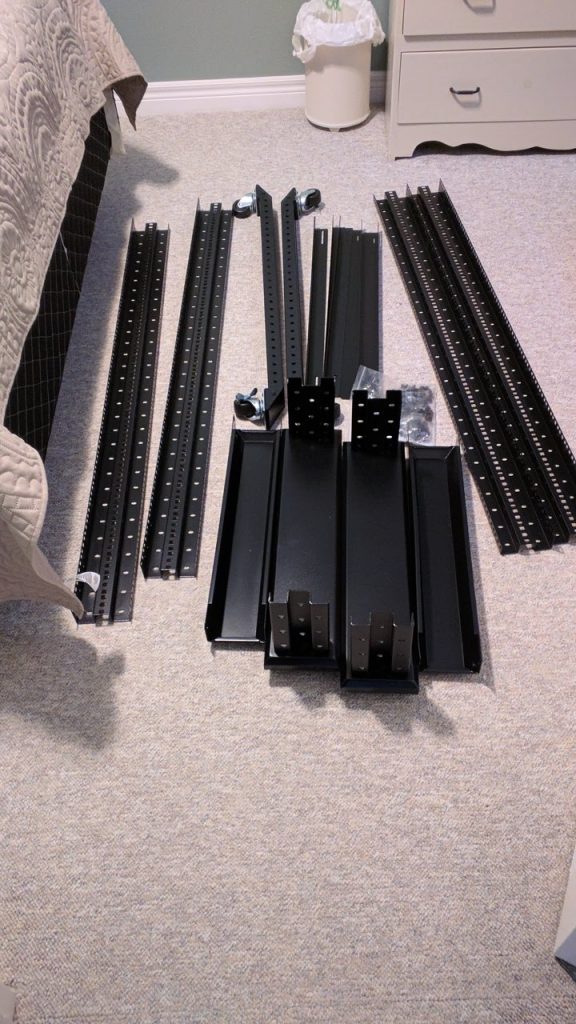
It starts out like this:

Once assembled it looks like this: You can see the Supermicro rails installed for testing. The shelf and the wire management are not included:

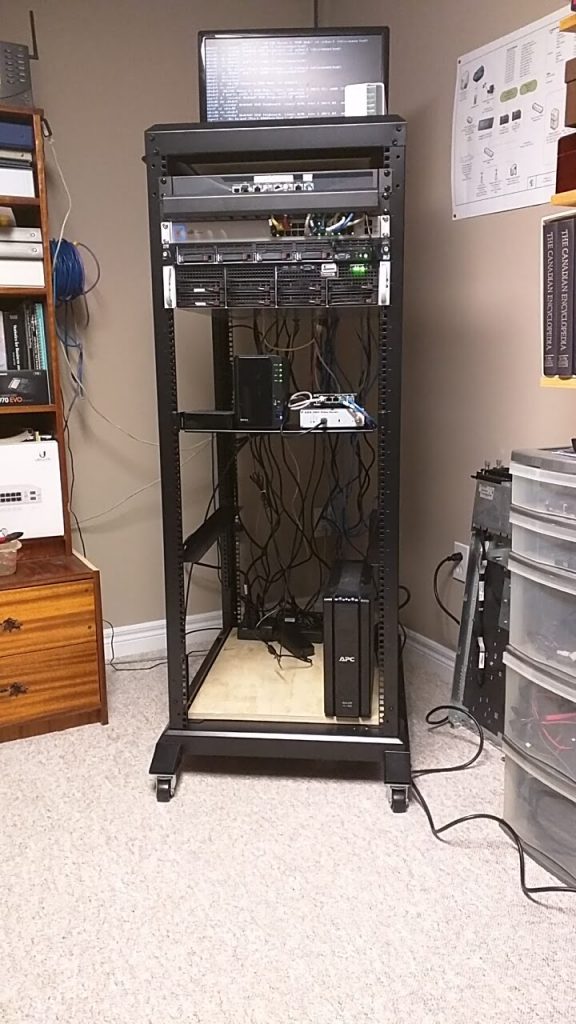
The next day, with the help of my son we stripped out all the equipment from my homemade rack. (I think he was eager to help when I mentioned all Interent access was going to be down until I had everything reassembled :-)). After about three hours of checking the mapping of server ports to switch ports it not looks like this. The one issue I has was that the I forgot that igb0 is on the bottom-left of the Supermicro NICs. Once that was done, everything was complete.

I still have to work on the vertical wire management which likely means that I need to get new network cables. That isn’t a bad thing because the new ones will be CAT6 and have some appropriate boots to keep the plugs from snagging on the other cables (and breaking off). The Supermicro bottom NICs have next to no room to apply pressure to depress a boot to remove the cable.
